Owing to the reason known that the deficiency of DVD drive make portable devices cannot support DVD playback. And Apple products such as iPhone, iPad, iPod are no exception.
So, Apple users are seeking for a way to transfer their DVD movie to iTunes library. Then, they can watch their DVD disc on iPad, iPhone, iPod, other Mac computers, etc. via iTunes sync. And today, this post is aimed to help you solve this problem – rip DVD to iTunes effortlessly, and import DVD to iTunes library.
Tips:
Plex is another movie streaming service, which is professional in making beautifully Plex-organized movie. So, you can also rip DVD to Plex.
How to Rip and Convert DVD Disc to iTunes
At first, we know that it is impossible to import the physical DVD disc or DVD folder to iTunes, as iTunes is a digital media player. And, iTunes doesn’t support any features about ripping DVD disc, due to the DVD copyright protection policy.
This means we have to get help from the third-party software to import DVD to iTunes.
VideoByte BD-DVD Ripper is the reliable helper we introduce today. The research and development team of this program have been committed to this for some years. It’s a simple, intuitive, fast (with latest GPU acceleration technology), and stable program, which allows users to rip DVD to digital format for uploading to iTunes. The whole progress will be quite easy: import DVD > select iTunes format > start convert.
Now it offers a free trial version for users to have a try, you can get it from the icon below.
After installing this DVD to iTunes converter, you can follow this quick guide to see how to rip DVD to iTunes on Mac.
Note:
The Windows version of VideoByte BD-DVD Ripper released a new version which has big changes compared with the old version. But the new version for Mac is still under the development. That means the interface and the operation of Windows and Mac will be different.
Step 1. Load DVD to VideoByte DVD Ripper
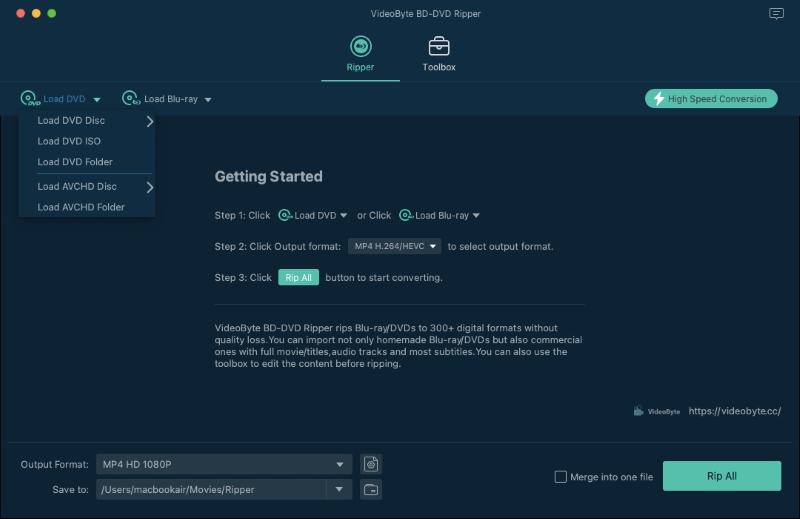
Open Video DVD Ripper and add DVD files that you want to convert to iTunes by clicking “Load DVD” on the top toolbar.

Note:
You have to insert your DVD disc to a readable DVD drive and then this program can detect your DVD disc.
Step 2. Select Apple QuickTime Output Format for iTunes
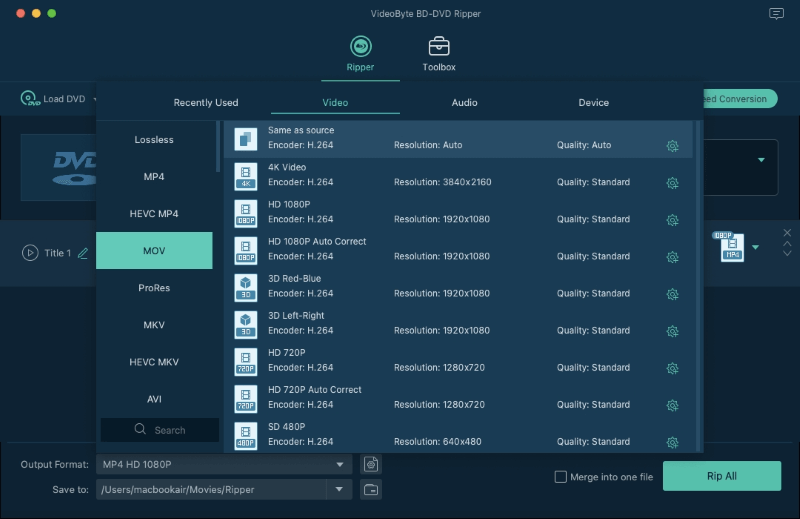
From the “Profile” part, choose an output DVD video format from “General Video” category. Please be noted that you need to select a format that supported by iTunes. iTunes supports most of the MOV, MP4, or M4V video. Normally, you can choose “MOV-QuickTime Video (*.mov)” since this is the most usual video format that compatible with iTunes.

Step 3. Start Converting DVD to iTunes
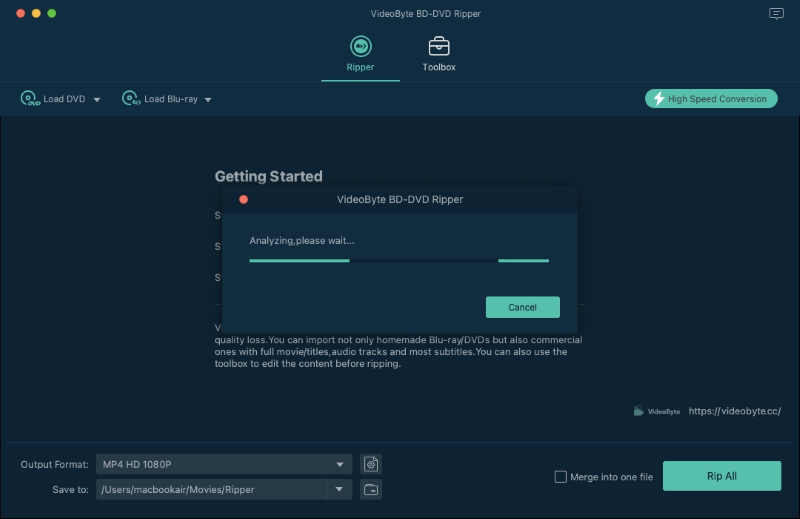
After clicking the “Convert” button, you need to wait a while according to the size of the original DVD. The program will deal with the DVD to iTunes conversion and then you can get your resulted DVD videos from the preset folder.

Transfer the Ripped DVD Movie to iTunes Library for Playing
After a series of operations by means of VideoByte DVD Ripper, you can get iTunes supported files from the destination folder, which are suitable for iPhone, iPad, iPod, or Apple TV playback through iTunes sync. Follow methods below and add the DVD video that ripped from DVD disc to iTunes.
Method 1.
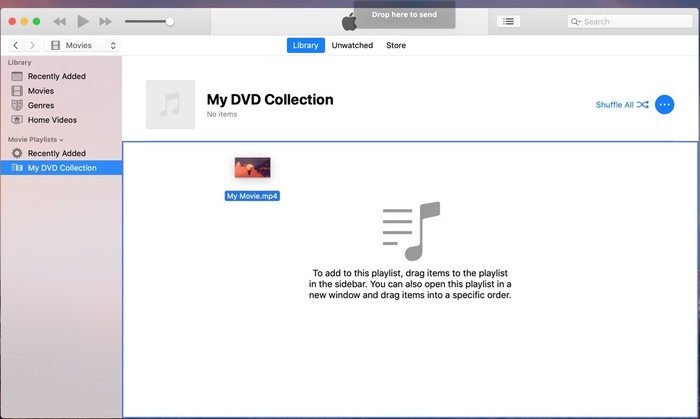
You can create a new movie playlist, and directly drag the converted DVD video(s) onto the iTunes icon into the Dock.

Method 2.
Launch iTunes; Click the button “File-Add to Library…” at the File Menu, at which you can browse the files or folder. And then open them in iTunes.
To sum up, VideoByte BD-DVD Ripper enables you to achieve the goal of importing DVD to iTunes library, which means you can completely enjoy your precious DVD videos by means of whichever the Apple devices such as iPhone, iPod, and iPad. VideoByte DVD Ripper is in possession of more advantages in DVD/Blu-ray ripping than other software. So, we suggest you equip your Win or Mac computer with this program to rip DVD to iTunes.


