To burn data to a blank DVD, for instance, burn MP4 to DVD, you must get a suitable DVD disc first. However, it seems hard for a majority of people to find out the exact differences between various DVD types like DVD-R vs DVD+R, DVD+RW vs DVD-RW, and DVD+R vs DVD+RW. No worries. You’ll be a DVD master after reading this post. Better yet, a fully-fledged DVD creator is introduced below and definitely will be a great helper for you. Now, let’s get the rope here.
The Difference Between R and RW Formats like DVD-R and DVD-RW
First up, we should know the acronym “R” and “RW” after the hyphen. It can tell us what we can do with that type of disc.
R: Readable only. You can write once and read arbitrarily many times. Thus, “R” format discs are suited to applications such as non-volatile data storage, audio, or video.
RW: Rewritable. You can write to these discs, erase them, and write to them again. According to Pioneer, DVD-RW discs may be written about 1,000 times before needing replacement. RW discs are commonly used to store data in a volatile format, such as when creating backups or collections of files. They are also used for home DVD video recorders.
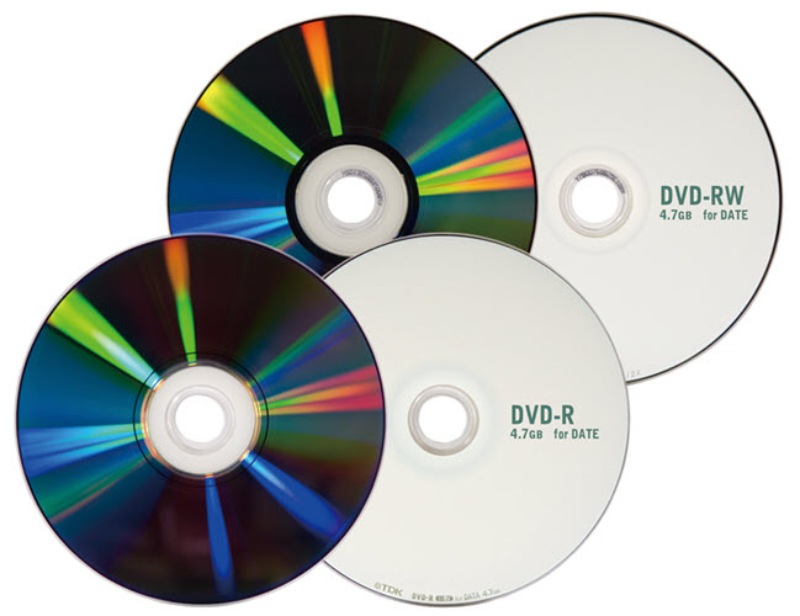
The major difference between DVD-R vs DVD-RW is that a DVR-R disc is a write-once format while a DVD-RW disc can be erased and rewritten many times. Once you write data to a DVD-R disc, it cannot be eased but read only.
The Difference Between DVD-R and DVD+R
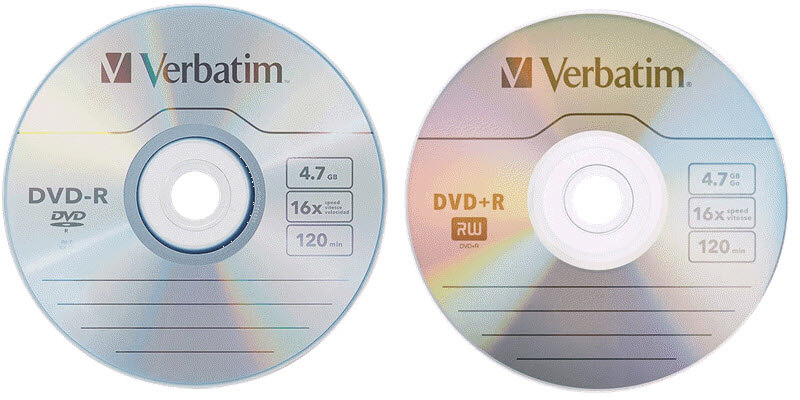
Ostensibly, the DVD+R disc looks no different from the DVD-R disc. They’re all 120mm in diameter and 1.2mm in thickness, comprising two 0.6mm polycarbonate substrates. However, a DVD+R has “DVD+R” written on the disc, while a DVD-R disc has its respective wording. The main difference and comparison between DVD+R and DVD-R mainly focus on the standard, compatibility, quality, speed, recording, and price.
1. DVD+R VS DVD-R - Standard Differences
DVD+R and DVD-R are developed and supported by different companies as shown below.
- DVD-R was developed by Pioneer in 1997 and supported by Pioneer, Toshiba, Hitachi, and Panasonic.
- DVD+R was developed by Philips and Sony in 2002 and supported by Sony, Philips, Hewlett-Packard, Ricoh, and Yamaha.
2. DVD-R VS DVD+R – Functional Differences
In terms of the functionality, DVD-R and DVD+R share similarities. Both of them can be written once and read only with a single-layer capacity of 4.7 GB and a double layer of 8.5 GB. Moreover, they need finalization after writing so that it can be played back. The difference between DVD-R and DVD+R lies in the technology used to determinate the location of the date on the disc.
- DVD-R utilizes “land pre-pits” to mark and determine the laser position.
- DVD+R utilizes “wobble frequency“instead.
3. DVD-R VS DVD+R – Quality/Speed/Price Comparison
Due to different laser location techniques, DVD-R and DVD+R differ in performance and price. As a rule, the better quality, the higher price.
- DVD+R has better performance in quality and writing rate at a higher price.
- DVD-R is normally cheaper but not so good at performance.
4. DVD-R VS DVD+R – Recording Differences
What’s more, DVD-R and DVD+R are different when recording data into the disc. Normally speaking, DVD+R is more stable and has a higher success rate in recording than DVD-R. Also, they are a few differences as the following chart shows.
| Drag and Drop | Formatting | Check for Errors | Risk of Interference and Error | |
|---|---|---|---|---|
| DVD+R | ✅ | ✅ | ✅ | Less |
| DVD-R | ❌ | ❌ | ❌ | More |
The Difference Between DVD-RW and DVD+RW
A DVD±RW is like a DVD±R, but can be erased and rewritten. DVD-RW is supported by the DVD Forum but DVD+R is supported by the DVD+RW Alliance. They are both compatible with most DVD-ROM drives and DVD-Video players.
DVD-RW format requires a shorter time to burn the lead in/out, and therefore has slightly more compatibility with DVD players. On the other hand, the DVD+RW format has some special features, such as lossless linking, and both CAV and CLV writing.
Among different DVD types, DVD 5 and DVD 9 are commonly used, so let’s check out their differences along the way.
| Version | Rewritable | Layer | Capacity | Video Length | Price | |
|---|---|---|---|---|---|---|
| DVD 5 | Elder | ✅ | Single | 4.37 GB | up to 120 min of standard videos | Cheap |
| DVD 9 | Advanced | ❌ | Double | 7.95 GB | up to 120 min of HD videos | Expensive |
Top-rated DVD Creator that Supports DVD+R, DVD-R, DVD-RW and DVD+RW
After learning about the difference and comparison, here we would like to recommend you the best DVD creator software in case you need to create a DVD disc. With VideoByte DVD Creator, you can create local videos from a computer or download and makes online movies to various DVD types, like DVD-R, DVD+R, DVD-RW, DVD+RW, DVD-5, DVD-9, etc, and play them on any DVD player. Besides, it can create a personalized DVD menu with various menu templates.
What’s more, you are allowed to add audio tracks, subtitles, and chapters to DVDs. Please note that DVD-/+R are write-once formats and DVD-/+RW are rewritable. But VideoByte DVD Creator cannot erase DVD-/+RW discs, it only supports to replace with writing new content.
- Various Burning Outputs – Create local videos to DVD discs, ISO image files, or DVD folders.
- DVD Menu Creator – Fully design the DVD menu including background, music, opening film, and positions.
- Inbuilt Video Editor – Rotate, crop, clip, or adjust videos as well as add effects/watermarks if necessary.
- Chapter Manager – Merge or split chapters and add a thumbnail for each chapter.
- Preview Before Burning – Preview and confirm your own work of art to make no mistake.
How to create a playable DVD with VideoByte DVD Creator
Step 1. Insert a blank DVD-R, DVD+R, DVD-RW, DVD+RW, DVD-5, or DVD-9 disc into your DVD drive. Then, open VideoByte DVD Creator on your computer after finishing the installation.
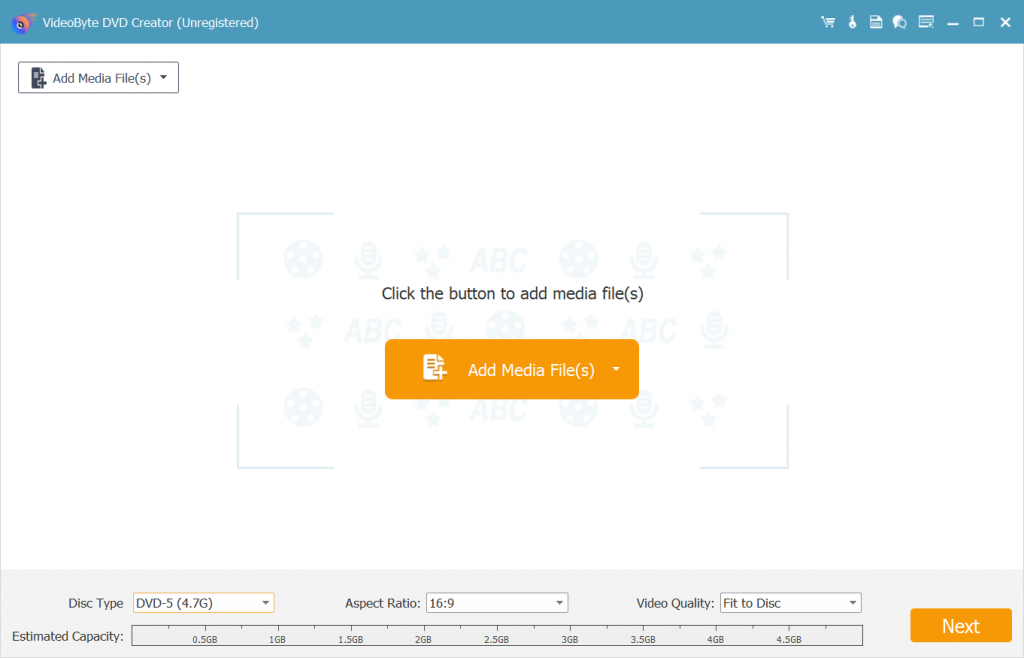
Step 2. Click on the “Add Media File(s)” button and select the video files you want to write on the DVD.
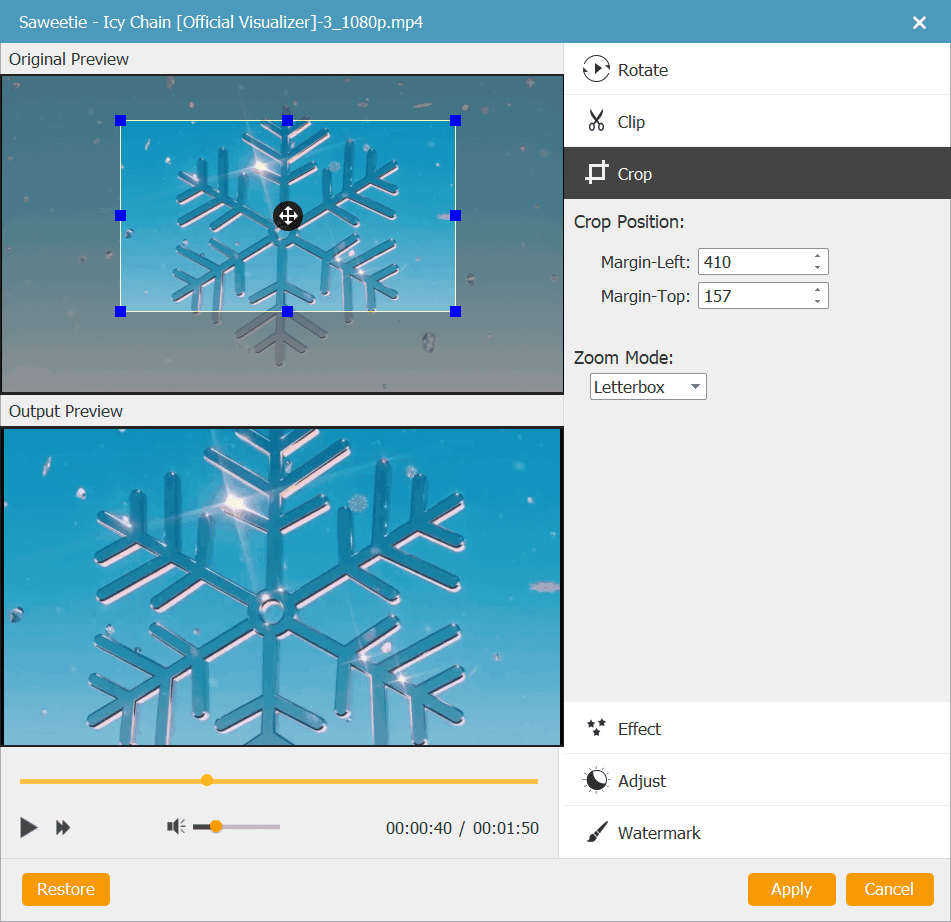
Step 3. Click “Power Tools” > “Video Edit” to adjust the video effect by increasing or decreasing the brightness, saturation, contrast, or hue settings. You can also trim, crop, or add a watermark to the video. Then click the “OK” button to save the changes.
Step 4. Click the “Audio Edit” button to choose or add an audio track for your video. You are able to modify parameters like volume, latency, encoder, bitrate, channels, etc. After that, you can click on the “Subtitle” tab to add subtitles to your DVD.

Step 5. Hit the “Next” button and you’ll go to the menu creation interface. You can choose your favorite template or customize an exlcusive DVD menu as you wish. When done, click “Burn” to proceed.
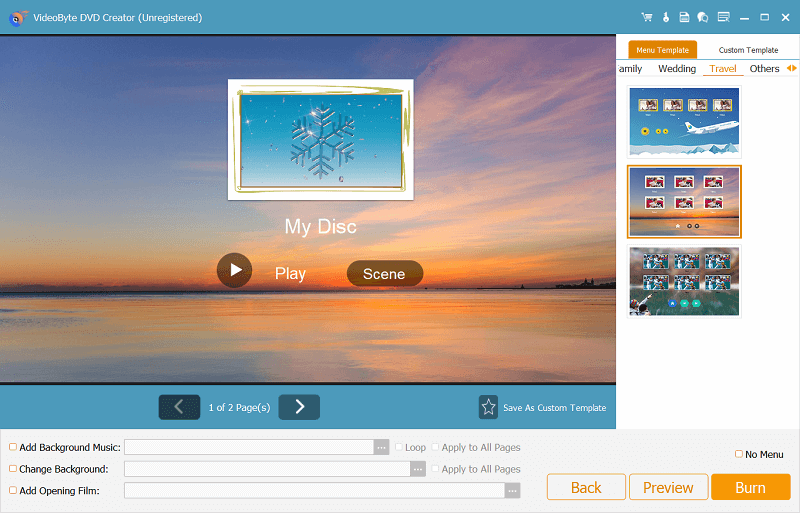
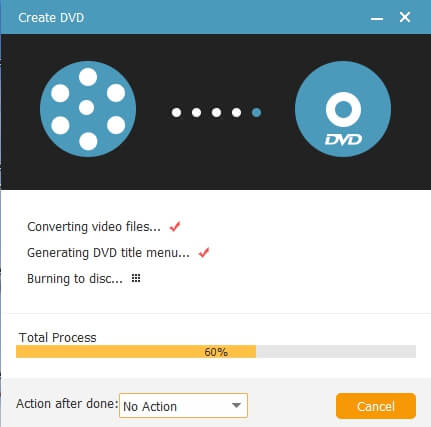
Step 6. Now, tick up the “Burn to disc” and choose the blank DVD. Finally, click the “Start” button to burn videos or movies to the DVD. When the burning is completed, you can insert the DVD into a DVD player and enjoy seamless playback.
If you like a vivid demonstration, you may check out the following video to see how to use this best DVD burning software.
Conclusion
In this post, we introduced the main DVD types easy to confuse: DVD+R and DVD-R, DVD-RW and DVD+RW as well as DVD 9 and DVD 5. To burn digital videos to DVDs, you’d better figure out the differences in the first place. Then, it’s recommended to utilize VideoByte DVD Creator to quickly burn all kinds of videos to a blank disc. Better yet, you can fully design your DVD menu or edit the videos inside the program. Better try than never!


