As the Windows version and the Mac version of VideoByte BD-DVD Ripper is completely different, we will divide this guide into 2 parts to show you how to install/uninstall VideoByte BD-DVD Ripper on Windows and Mac computer separately.
Tips: If you have any problems in using VideoByte BD-DVD Ripper, you can contact the support team before you uninstall the program from your computer. We will try our best to help you fix the problem.
Part 1. Install/Uninstall VideoByte BD-DVD Ripper on Windows
Steps for Installation of VideoByte BD-DVD Ripper on Windows
Step 1. Visit the product page of VideoByte BD-DVD Ripper and you can see the download button. Or you can directly download it from the button below:
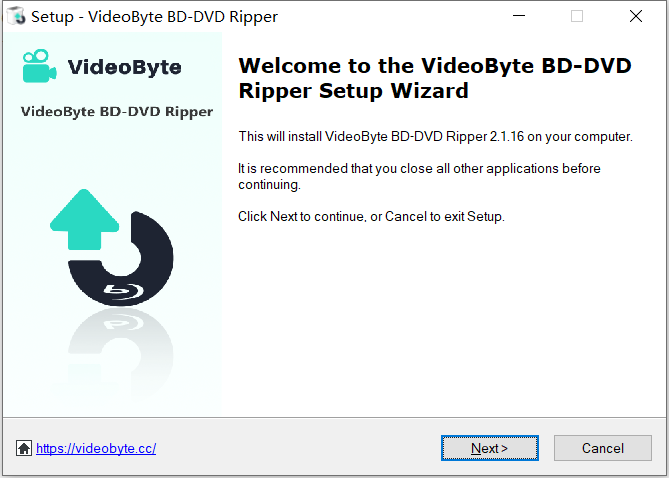
Step 2. After clicking the download button, the installation package will be downloaded in seconds. Double click the package to run it. Then the set-up window will pop up. You can click “Customize Installation” to change the folder path and other choices.
Now you can tap on “Next” to begin installation.
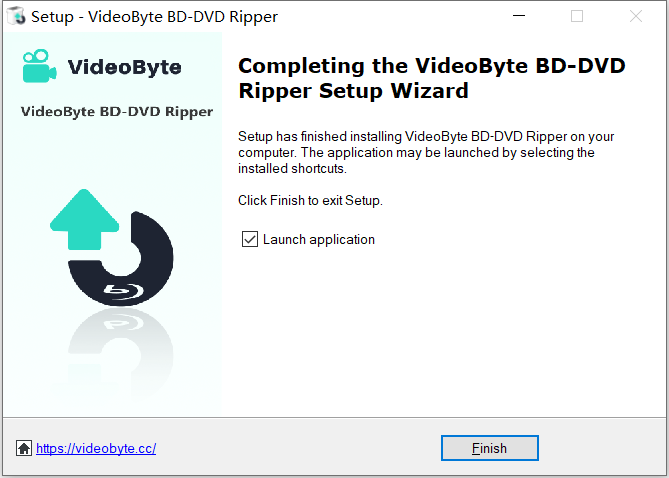
Step 3. Then, you can see the progress bar of installation. The installation can be done in seconds and you can run it by checking “Launch application” and clicking “Finish”.
Steps for Uninstallation of VideoByte BD-DVD Ripper on Windows
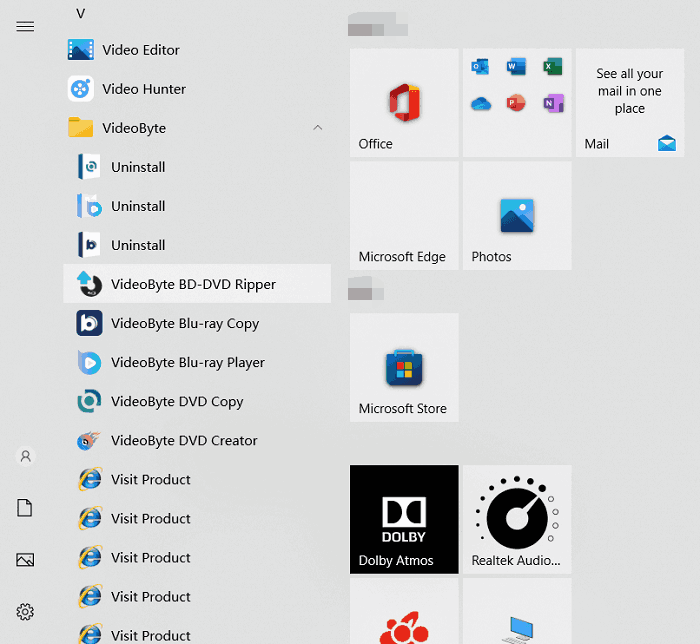
Step 1. Open the start menu on your Windows.
Step 2. Scroll your mouse to find “VideoByte” and click to open it. Now you can see “VideoByte BD-DVD Ripper” on the list. Right click the program and select “Uninstall” to remove it.
Step 3. Then, it will pop up the windows of “Programs and Features”. And you can click “VideoByte BD-DVD Ripper” and choose “Uninstall”.
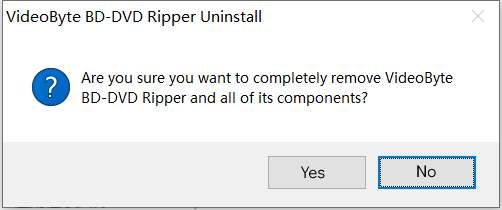
Step 4. After you select “Uninstall”, it will pop up a window as below. Click “Yes” to confirm your operation. You can see a message “VideoByte BD-DVD Ripper was successfully removed from your computer” when the uninstallation is completed.
Part 2. Install/Uninstall VideoByte BD-DVD Ripper on Mac
Steps for Installation of VideoByte BD-DVD Ripper on Mac
Step 1. Go to the product page of VideoByte BD-DVD Ripper. Click “I need a Mac version”. Then tap on the “Download” button. Or you can click the download button below:
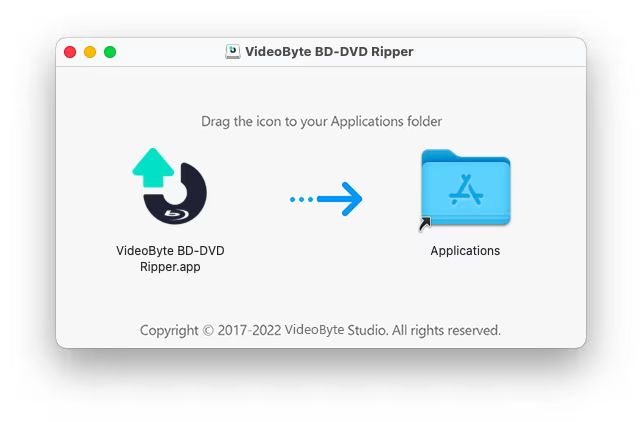
Step 2. Click the downloaded file and then you will see the window like this. You should drag the icon of “VideoByte BD-DVD Ripper” to the “Applications” folder to finish installation.
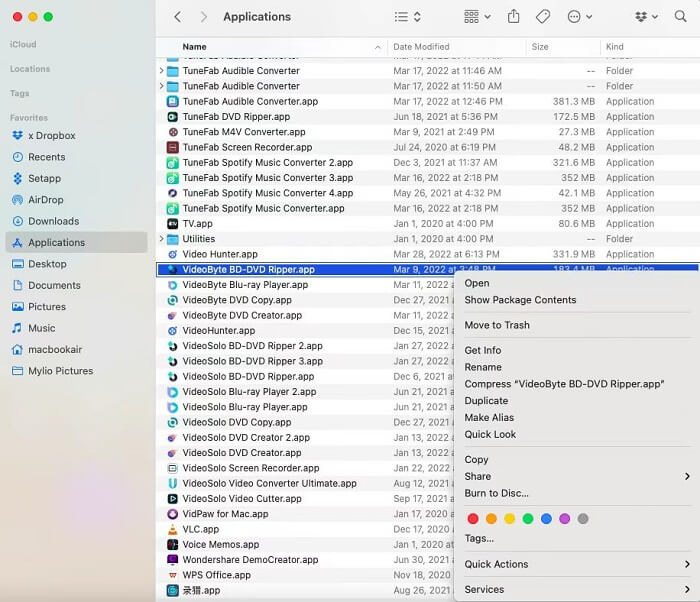
Step 3. Open the “Application” folder on your Mac and you can find VideoByte BD-DVD Ripper in it.
Steps for Uninstallation of VideoByte BD-DVD Ripper on Windows
Step 1. Open “Finder” > “Application” and scroll your mouse to find VideoByte BD-DVD Ripper.
Step 2. Click it and choose “Move to Trash” from the list.
Step 3. Now you can find the program is uninstalled from your Mac successfully.
That’s all! If you still have problems in how to install or uninstall VideoByte BD-DVD Ripper on your computer, you can contact the support team via the support page.


